Creating & Hosting a Static Website
Workshop outline and notes
-
1
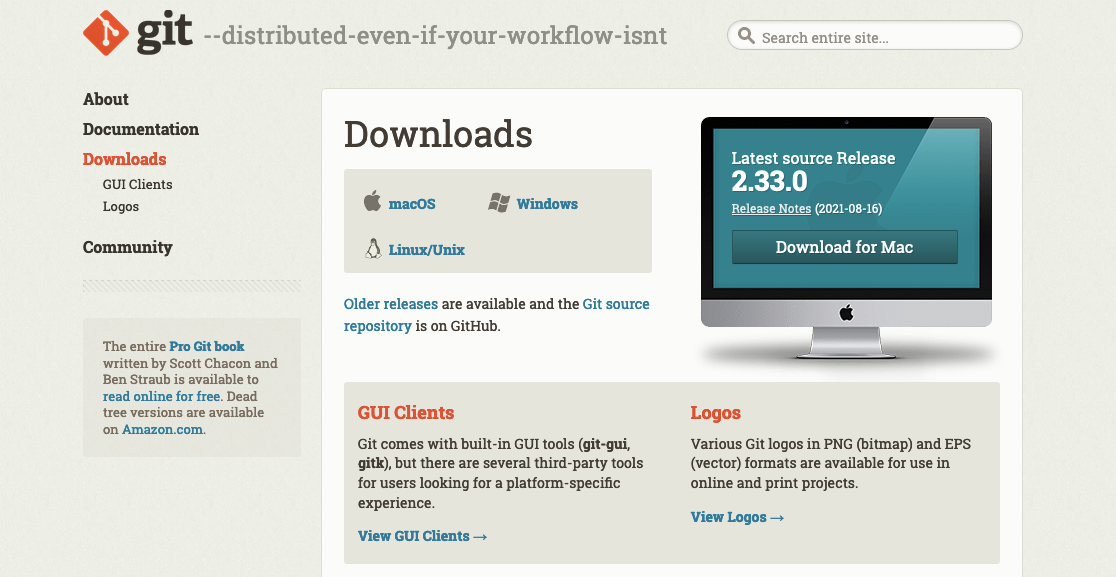
Download and install Git
Git is a free software version control package. We'll need to install it to push our website up to Github.
Navigate to git-scm.com to download the package for Mac, Windows, or Linux.
After downloading it, run the package installer.
-
2
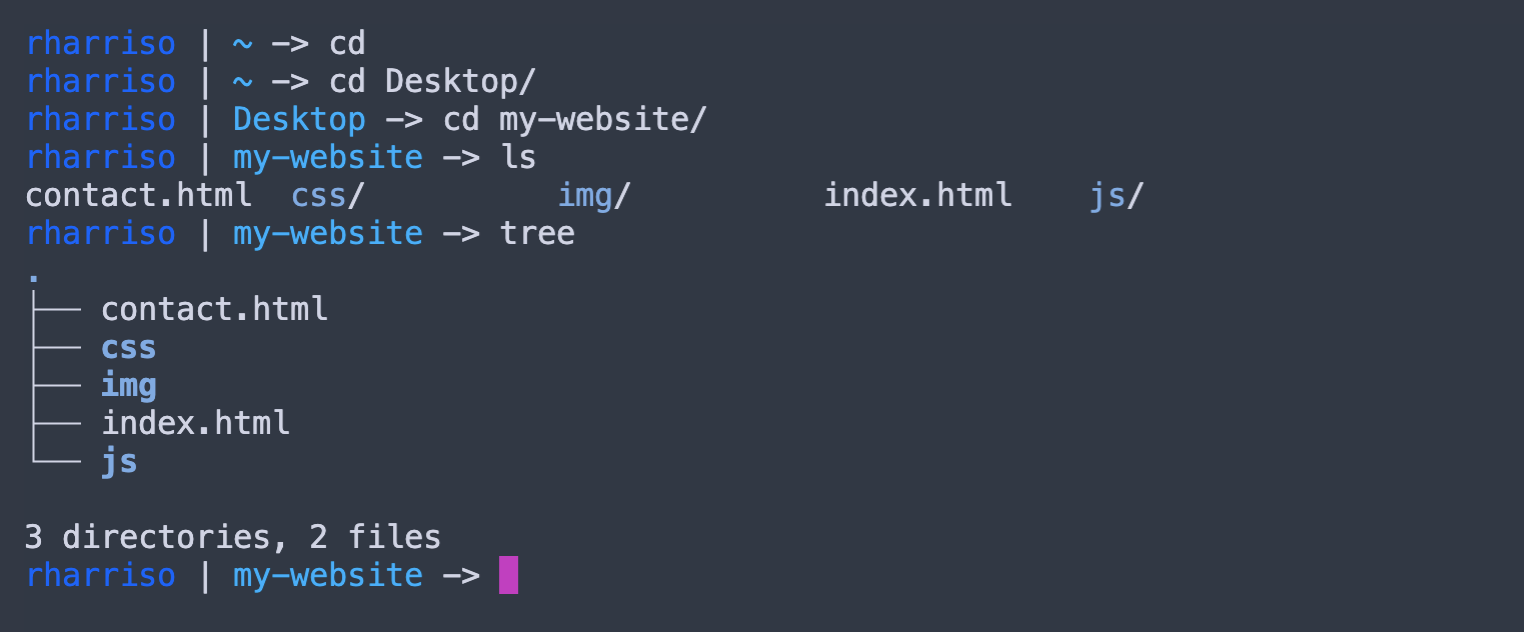
cd ~
cd Desktop
cd my-website
Open your shell/CLI/Terminal
Open a shell command line editor (or terminal) such as Bash or Zsh. We will use this interface to enter our Git commands.
Type these commands in your terminal to navigate to the root directory of your website.
-
3

git init
Init your repo
To begin tracking changes to your your website's files, you must first initialize the root directory as a git repository (or 'repo').
Type
git initand press enter. -
4
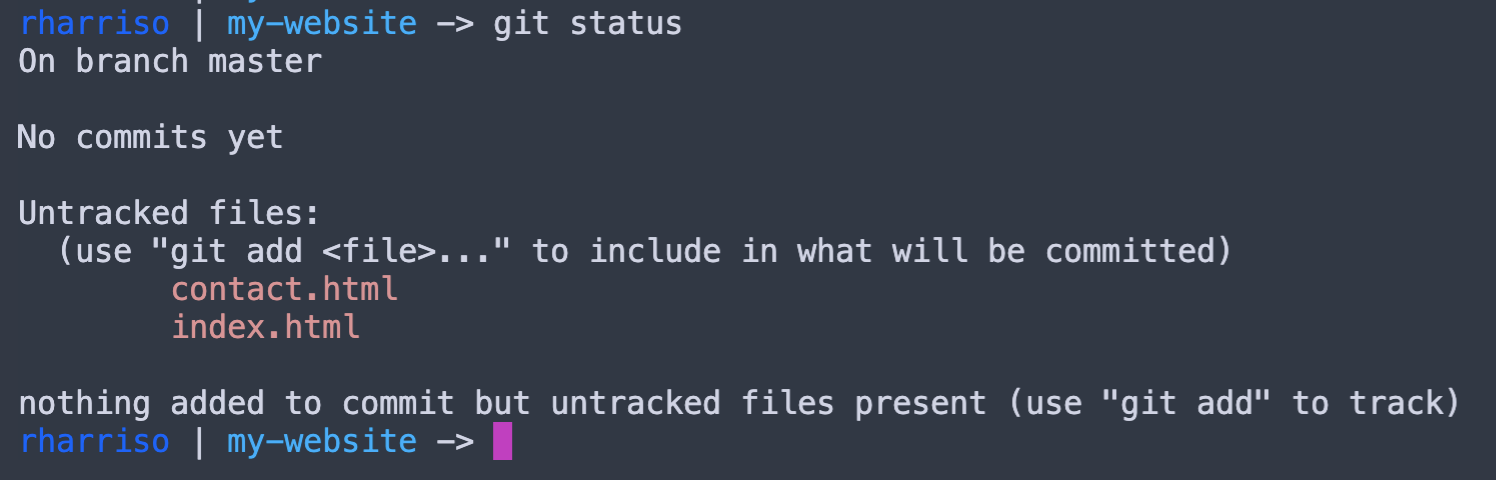
git status
View the status of your files
Use this command to track the status of your files — whether changes have been made or not.
-
5
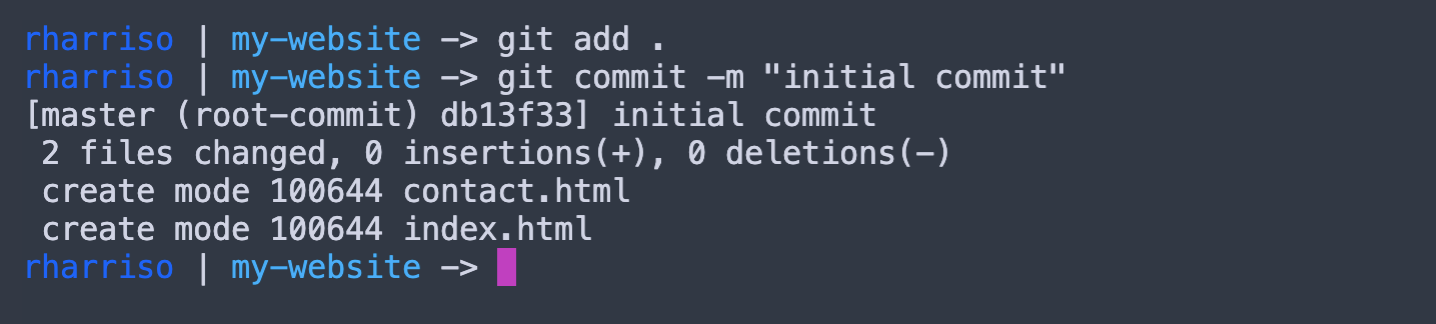
git add .
git commit -m "initial commit"
Add and Commit your files
You will need to add and commit your files to push them up to the remote repository. We'll create that in the next steps.
-
6

Create a Github account
Great! You've created files and committed them locally. Now let's push them to your remote repo on Github! To push our files to a (free) remote repository, we'll need to create an account on Github.
I recommend using the simple sign in, authenticating with your Notre Dame Google account. But you may create your own unique username and password if you choose to.
-
7

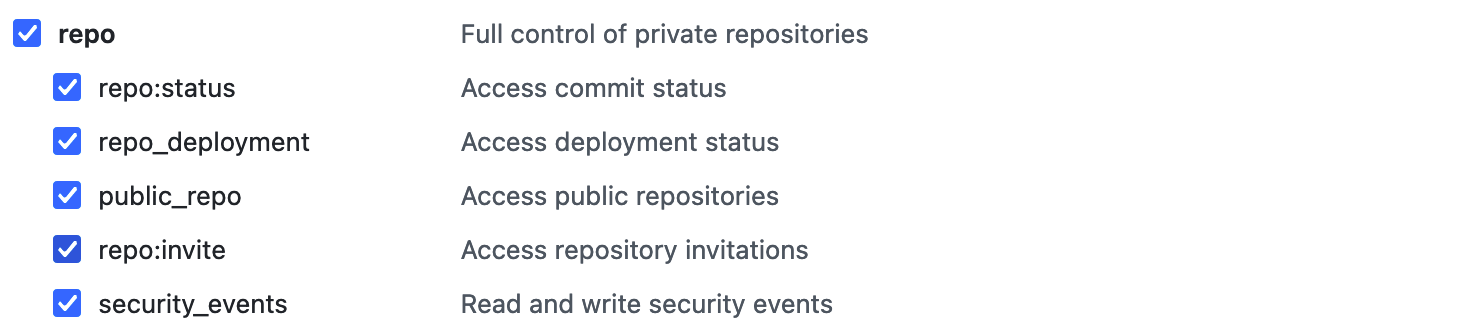
Create an access token for Github
Before we push our files to Github, we'll need to create a special key or 'personal access token' (a long character string) that we'll use as our password when we push code up to a remote repository.
Create your token now by visiting the personal access tokens page. Make sure the 'repo' box is checked.
Don't skip this step —If you try to push to a remote repo without completing this step, and using the password you use to sign into GitHub, you'll see the 'fatal' error at left.
Keep track of this —There is no way to recover this token, so make sure to keep it securely.
-
8
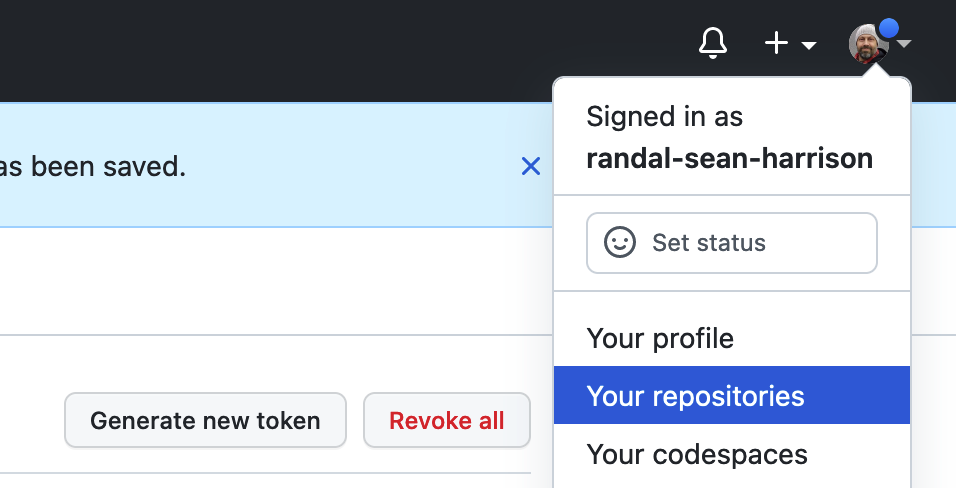
Navigate to your repositories page
Next, click the avatar (circle icon) in the top right menu and select the 'Your Repositories' option to navigate to your respositories page. It should be empty.
-
9
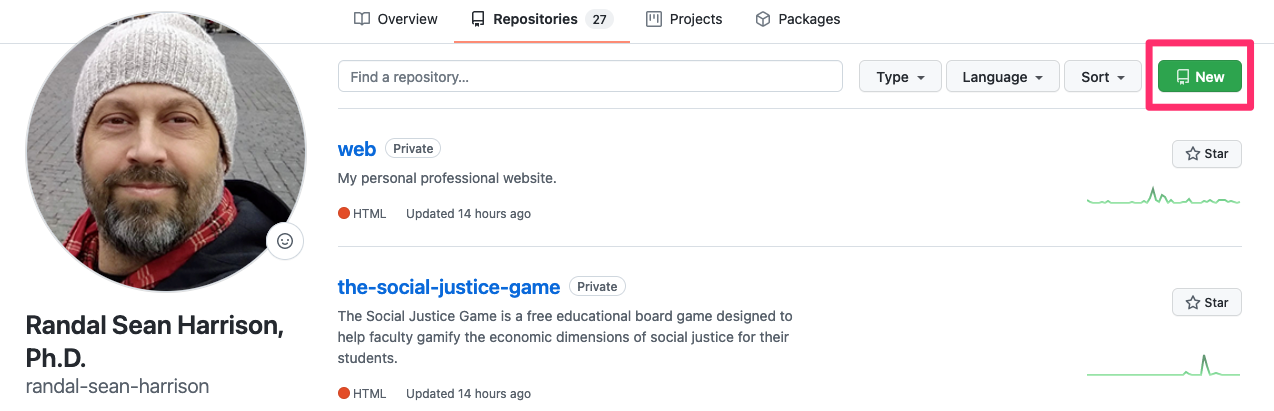
Create a remote repository
Let's create the repo! Click on the green button to create a new repository. We'll now sync our local code repository to this one.
-
10
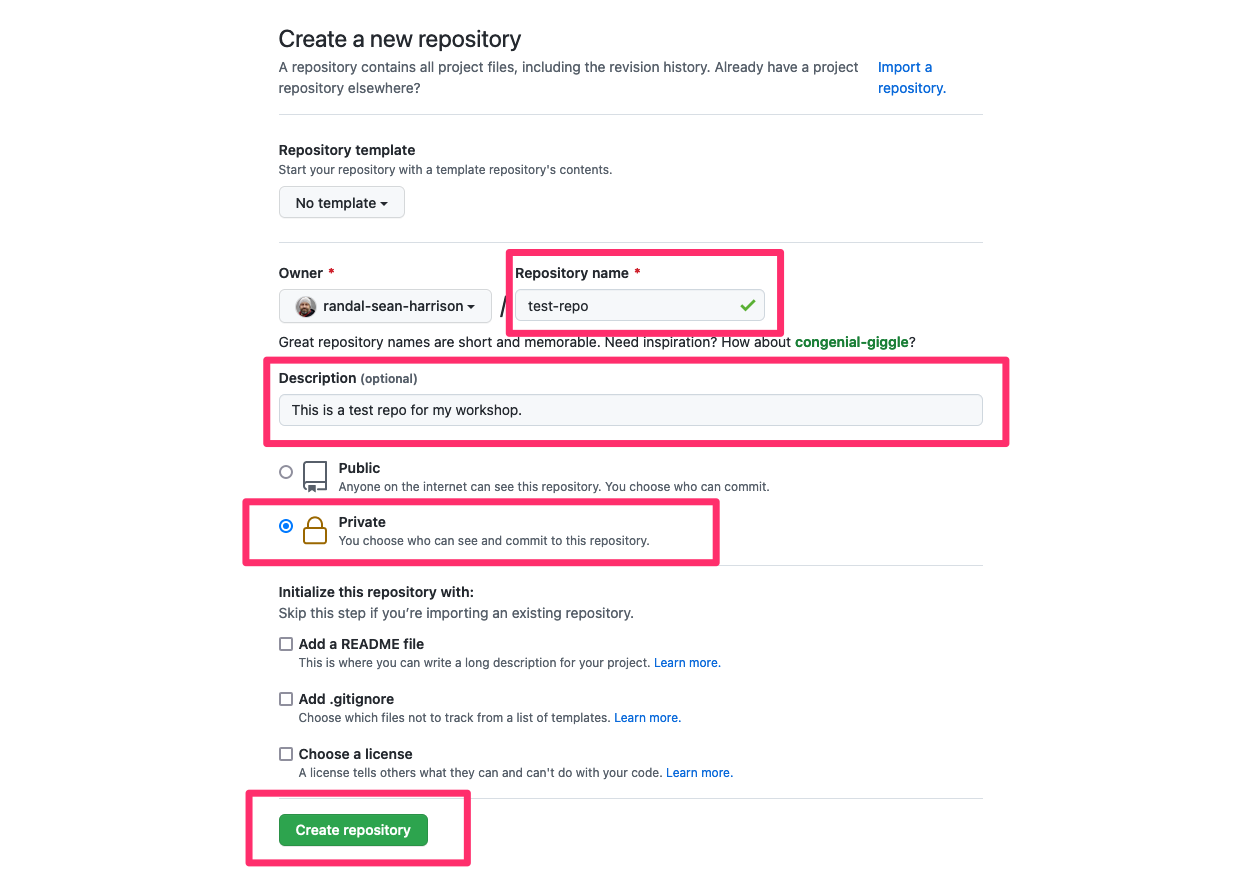
Name, describe, and hide the repo
Provide a repository name, separated by hyphens and NOT spaces.
Provide a description of your repository. In this case, you might add something like 'My personal website'.
I recommend setting your repo to 'Private'. The code will be hidden, but the public website will be visible to the public.
Click
Create repository. -
11

Copy your repo's path
You're going to see this new page with lots of code. However, these are the only three lines you need.
-
12
git config --global credential.helper store
Store the access token in Git
In order to avoid entering your personal access token each time you push code to your GitHub repo, you can store it in Git's credential helper.
In your terminal, type the the following text. Now, the next time you push to your remote repo, use the personal access token instead of your GitHub login password. It will be stored in the credential helper and you won't be required to enter a password in future.
-
13
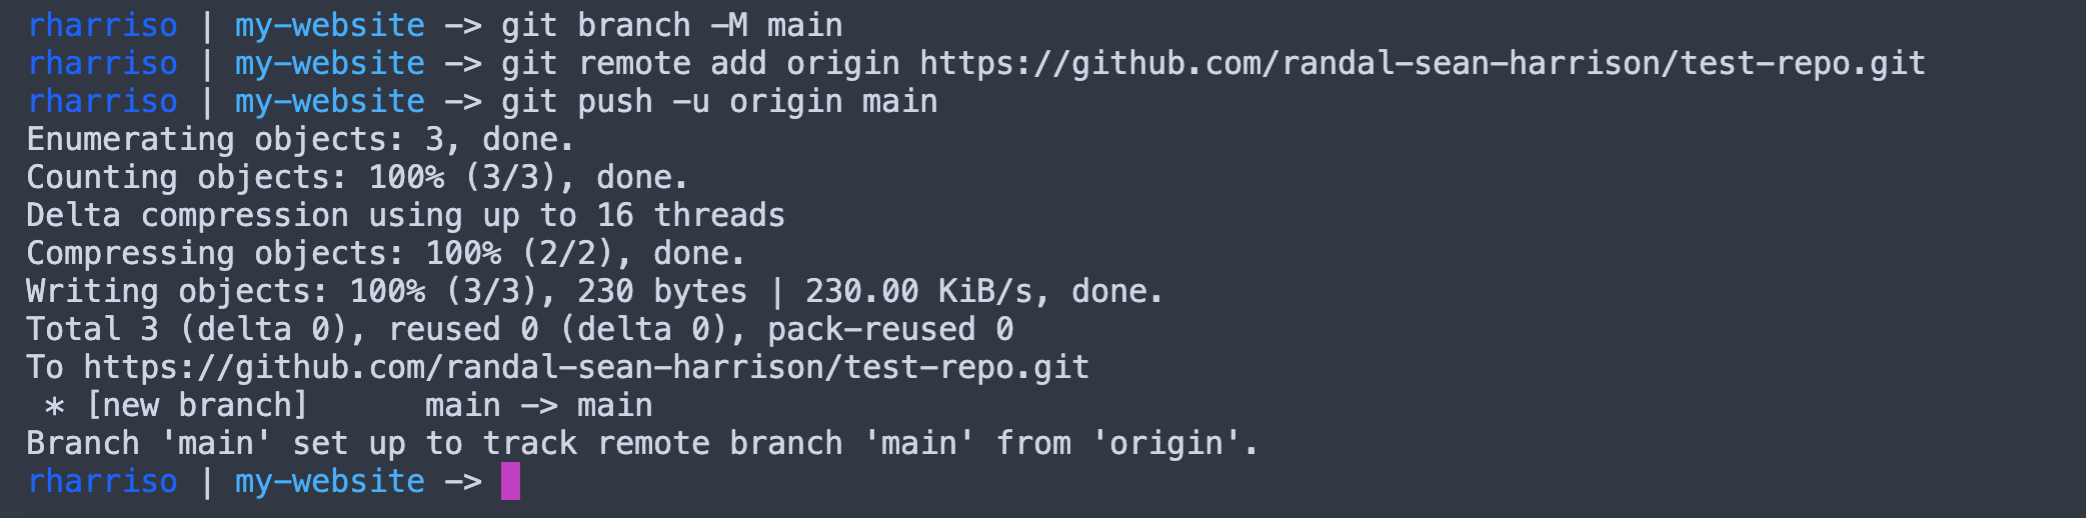
git branch -M main
git remote add origin
https://github.com/randal-sean-harrison/test-repo.gitgit push -u origin main
Link your local and remote repos
Type these into your terminal in order and press enter after each line.
Note that the URL to your particular repo will differ from mine (in red).
-
14
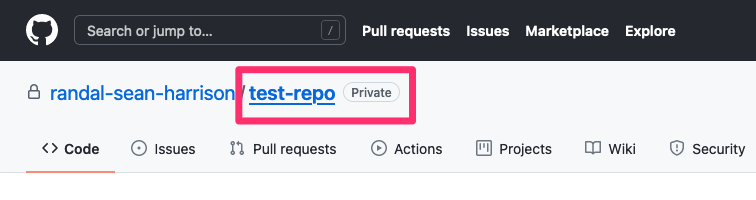
Navigate to repo home page
To navigate to the repo's home page, click on the link, top-left, with the name of the repo.
-
15

Navigate to Settings
Click on the
Settingstab. -
16
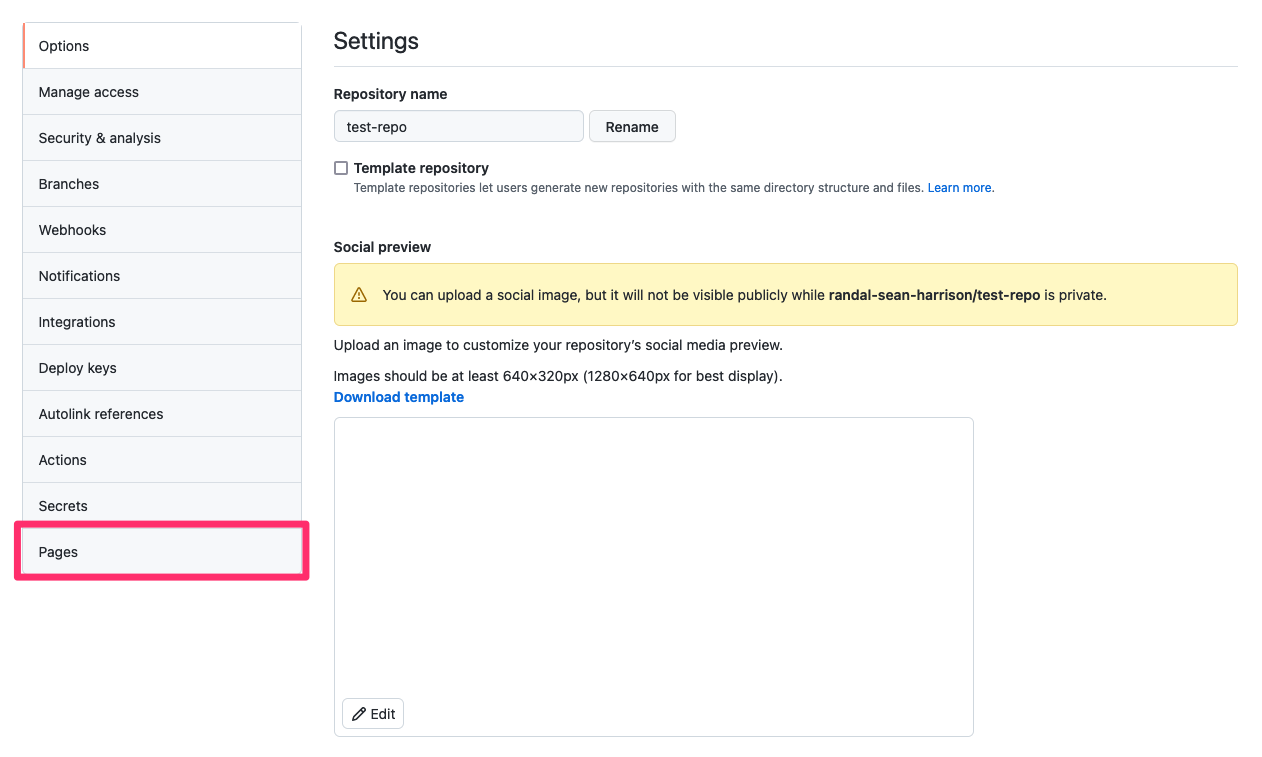
Navigate to Pages
Click on the
Pagestab. -
17
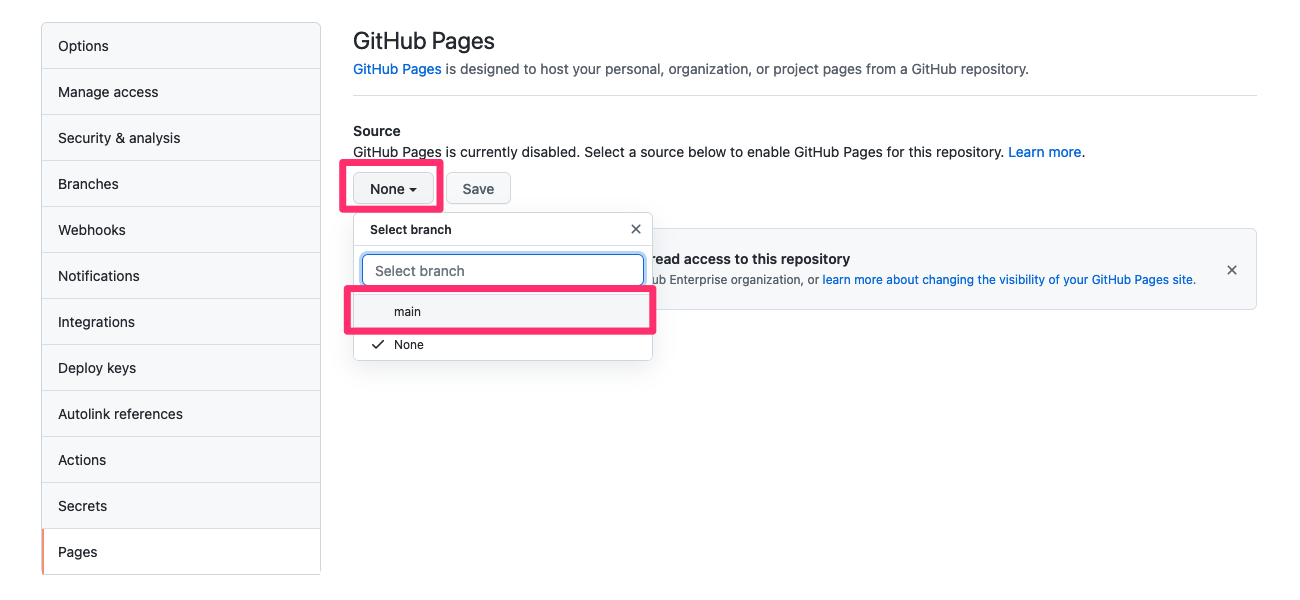
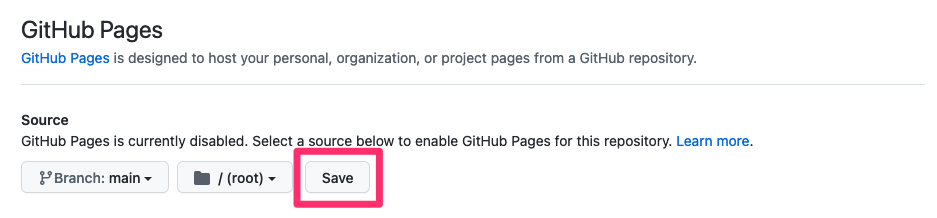
Enable GitHub Pages
The code that is in your repo, even if set to 'private' can be displayed publicly. To render your website, you must enable GitHub Pages.
Click the
Sourcedropdown and select 'Main'.Click
Save. -
18
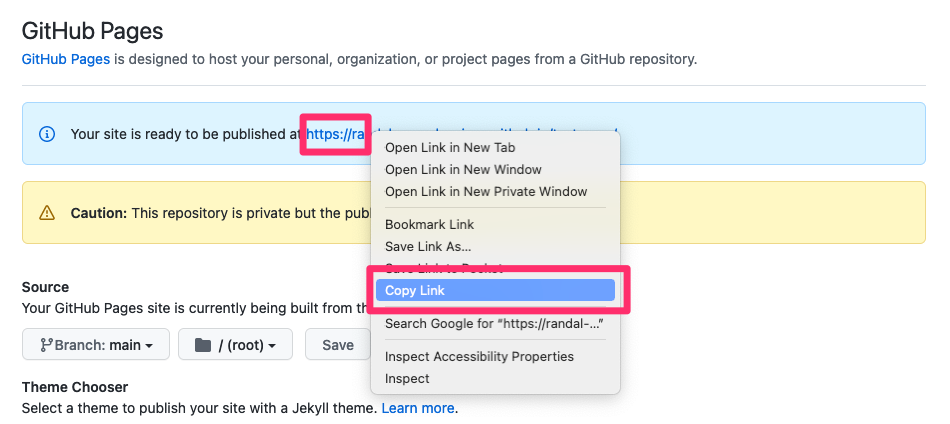
Copy your Pages link
Your site will be published to a specific GitHub Pages link. Right-click the URL and select 'Copy Link'.
Navigate back to the repo's home page by clicking on the link, top-left, with the name of the repo.
-
19
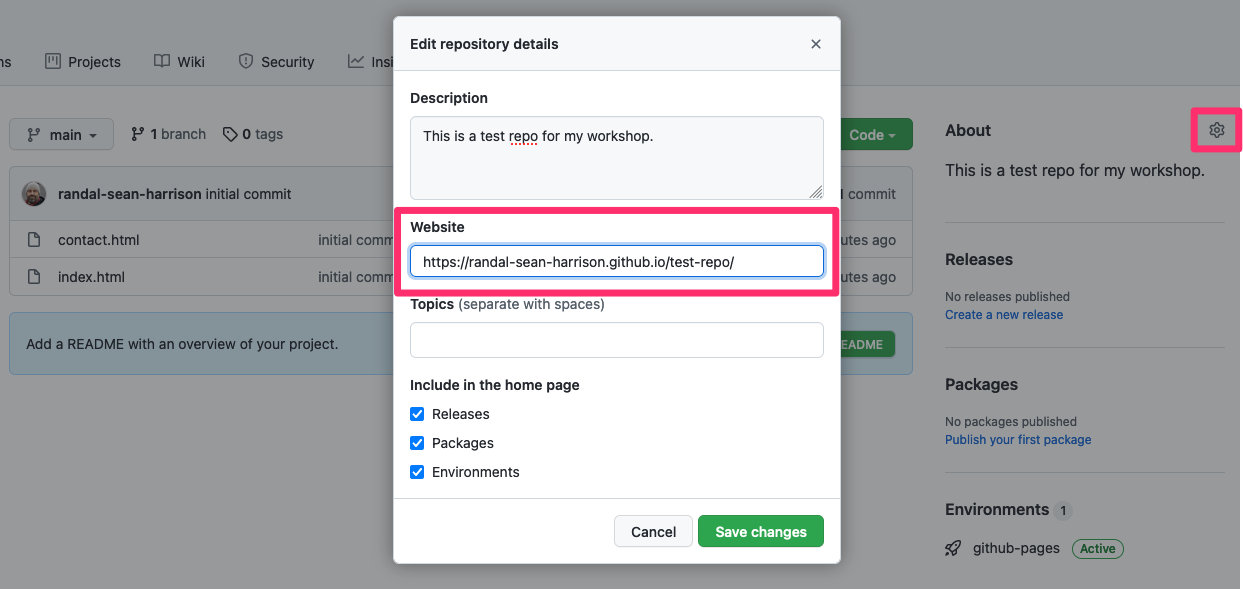
Record your Pages link
Once on the home page for your repo, click on the Gear icon. In the Website field, paste the link to your GitHub Pages.
-
20
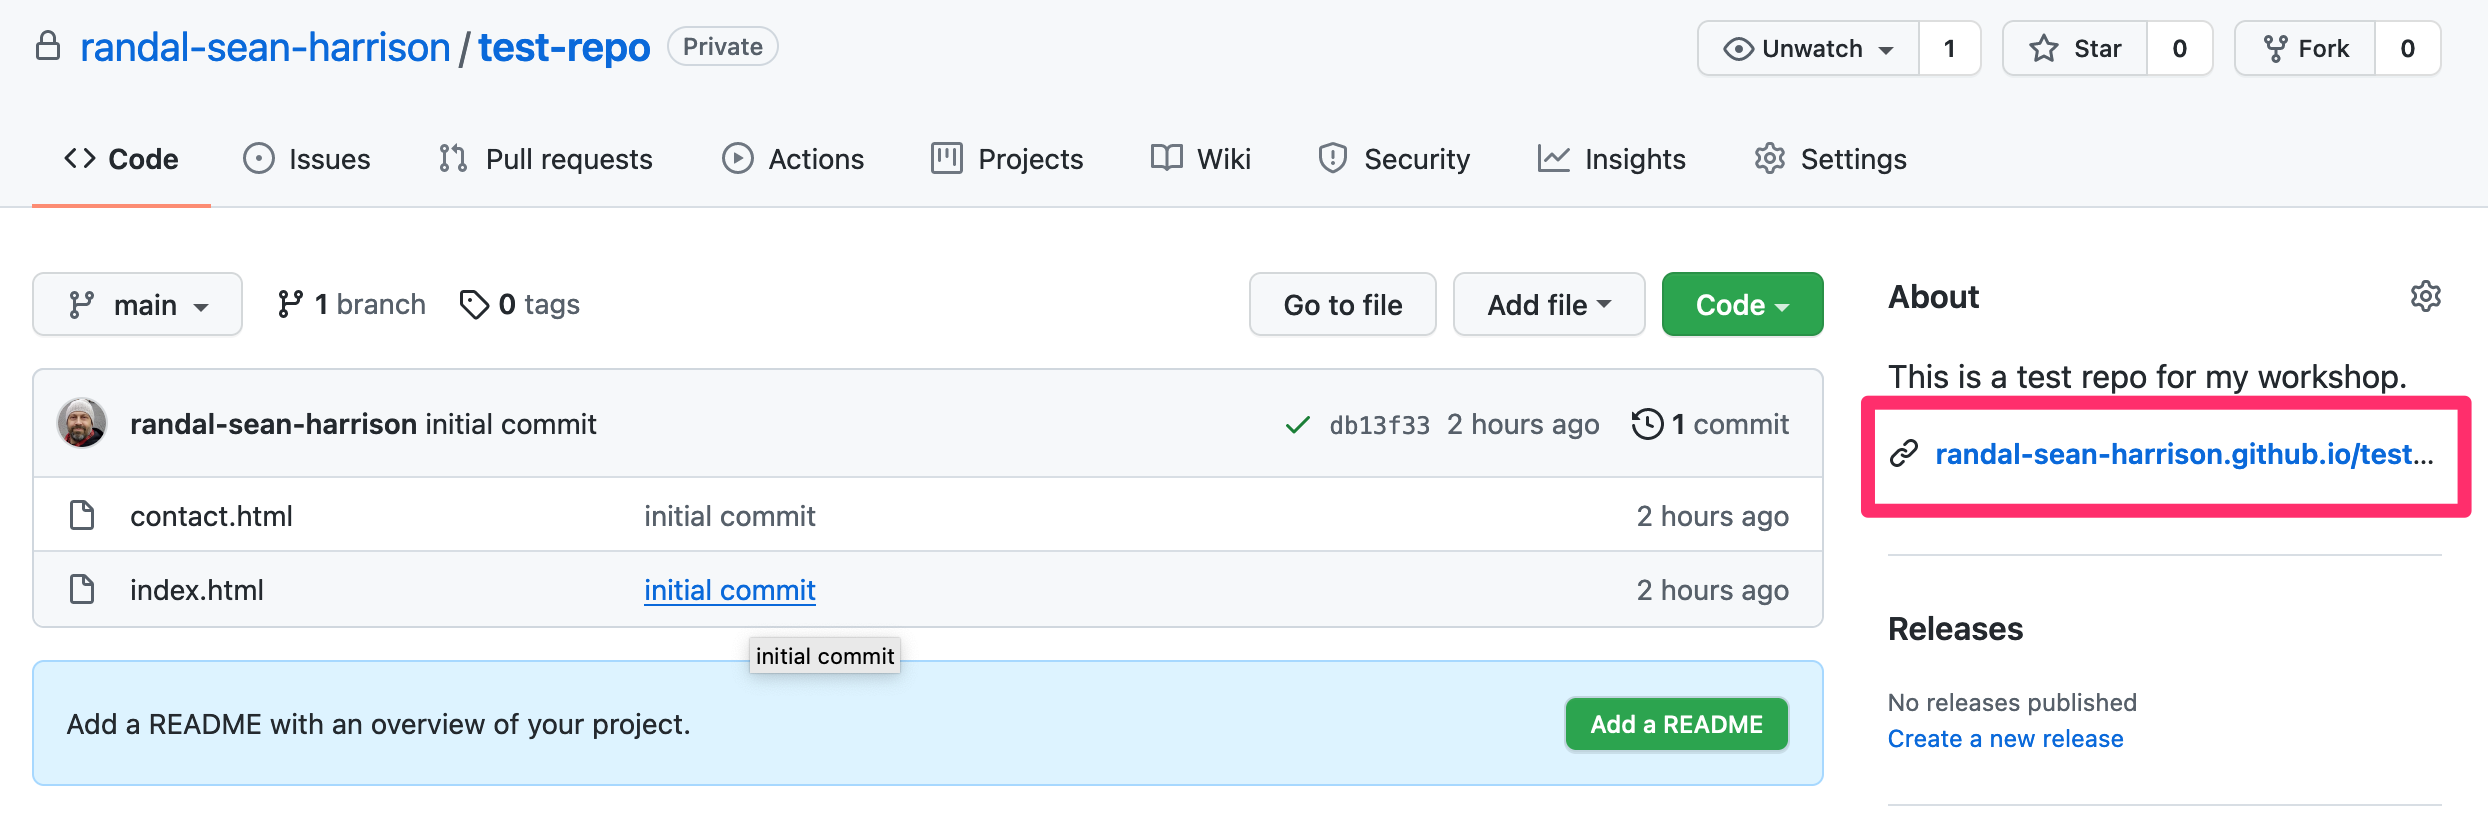
View your new website
The link to your GitHub pages, visible to the public, will be listed here. Click it at any time to view your website.
-
21
View your new website
The link to your GitHub pages, visible to the public, will be listed here. Click it at any time to view your website.